Mria CRM is exclusively available for Jira Cloud and is built on Atlassian Forge. As a Forge app, it runs on Atlassian’s secure cloud infrastructure, so you’ll see the “Runs on Atlassian” badge on the Marketplace listing.
There are two ways to install Mria CRM:
- From the Atlassian Marketplace website
- From Jira’s Manage apps menu
Install via Atlassian Marketplace (Web) #
- Open Atlassian Marketplace and search for Mria CRM.
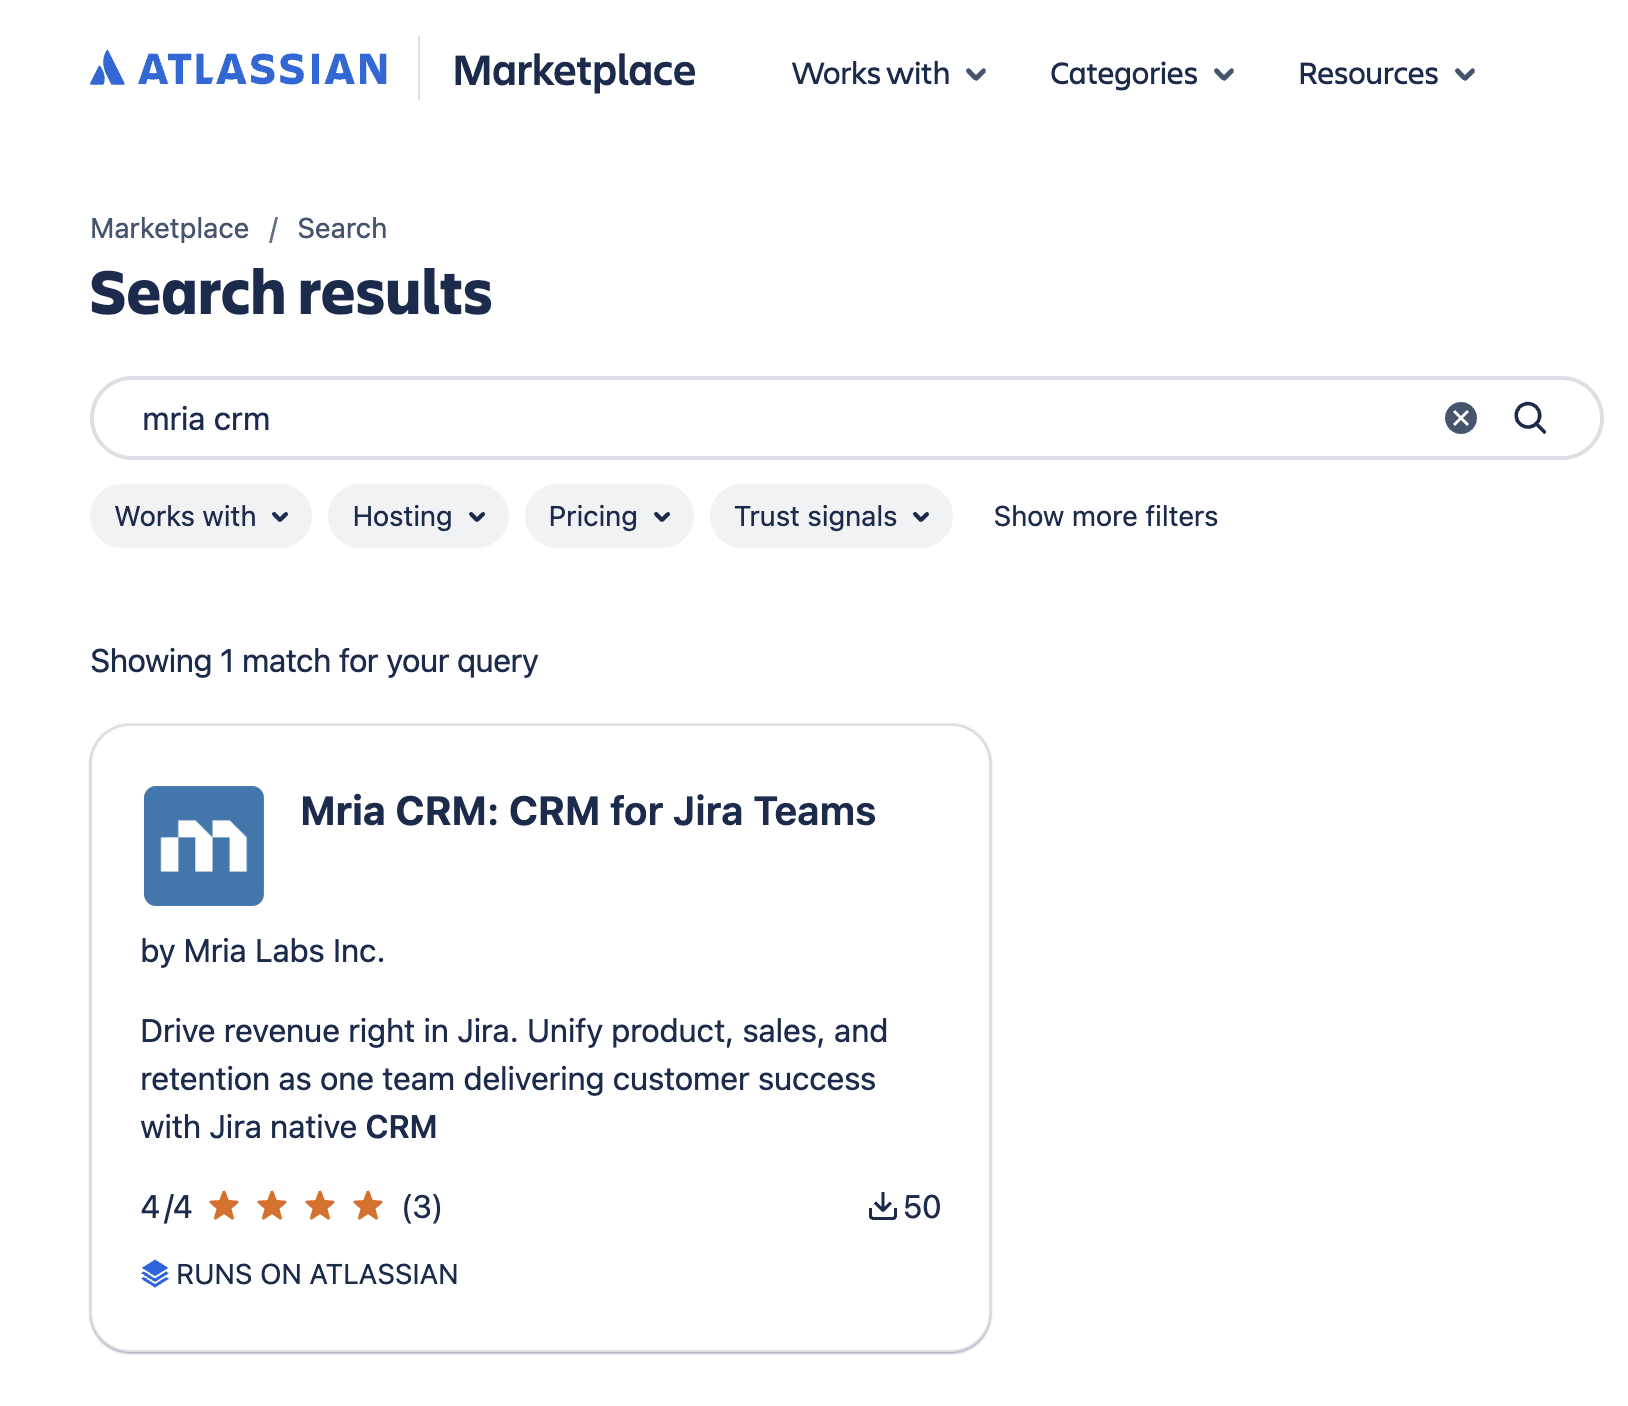
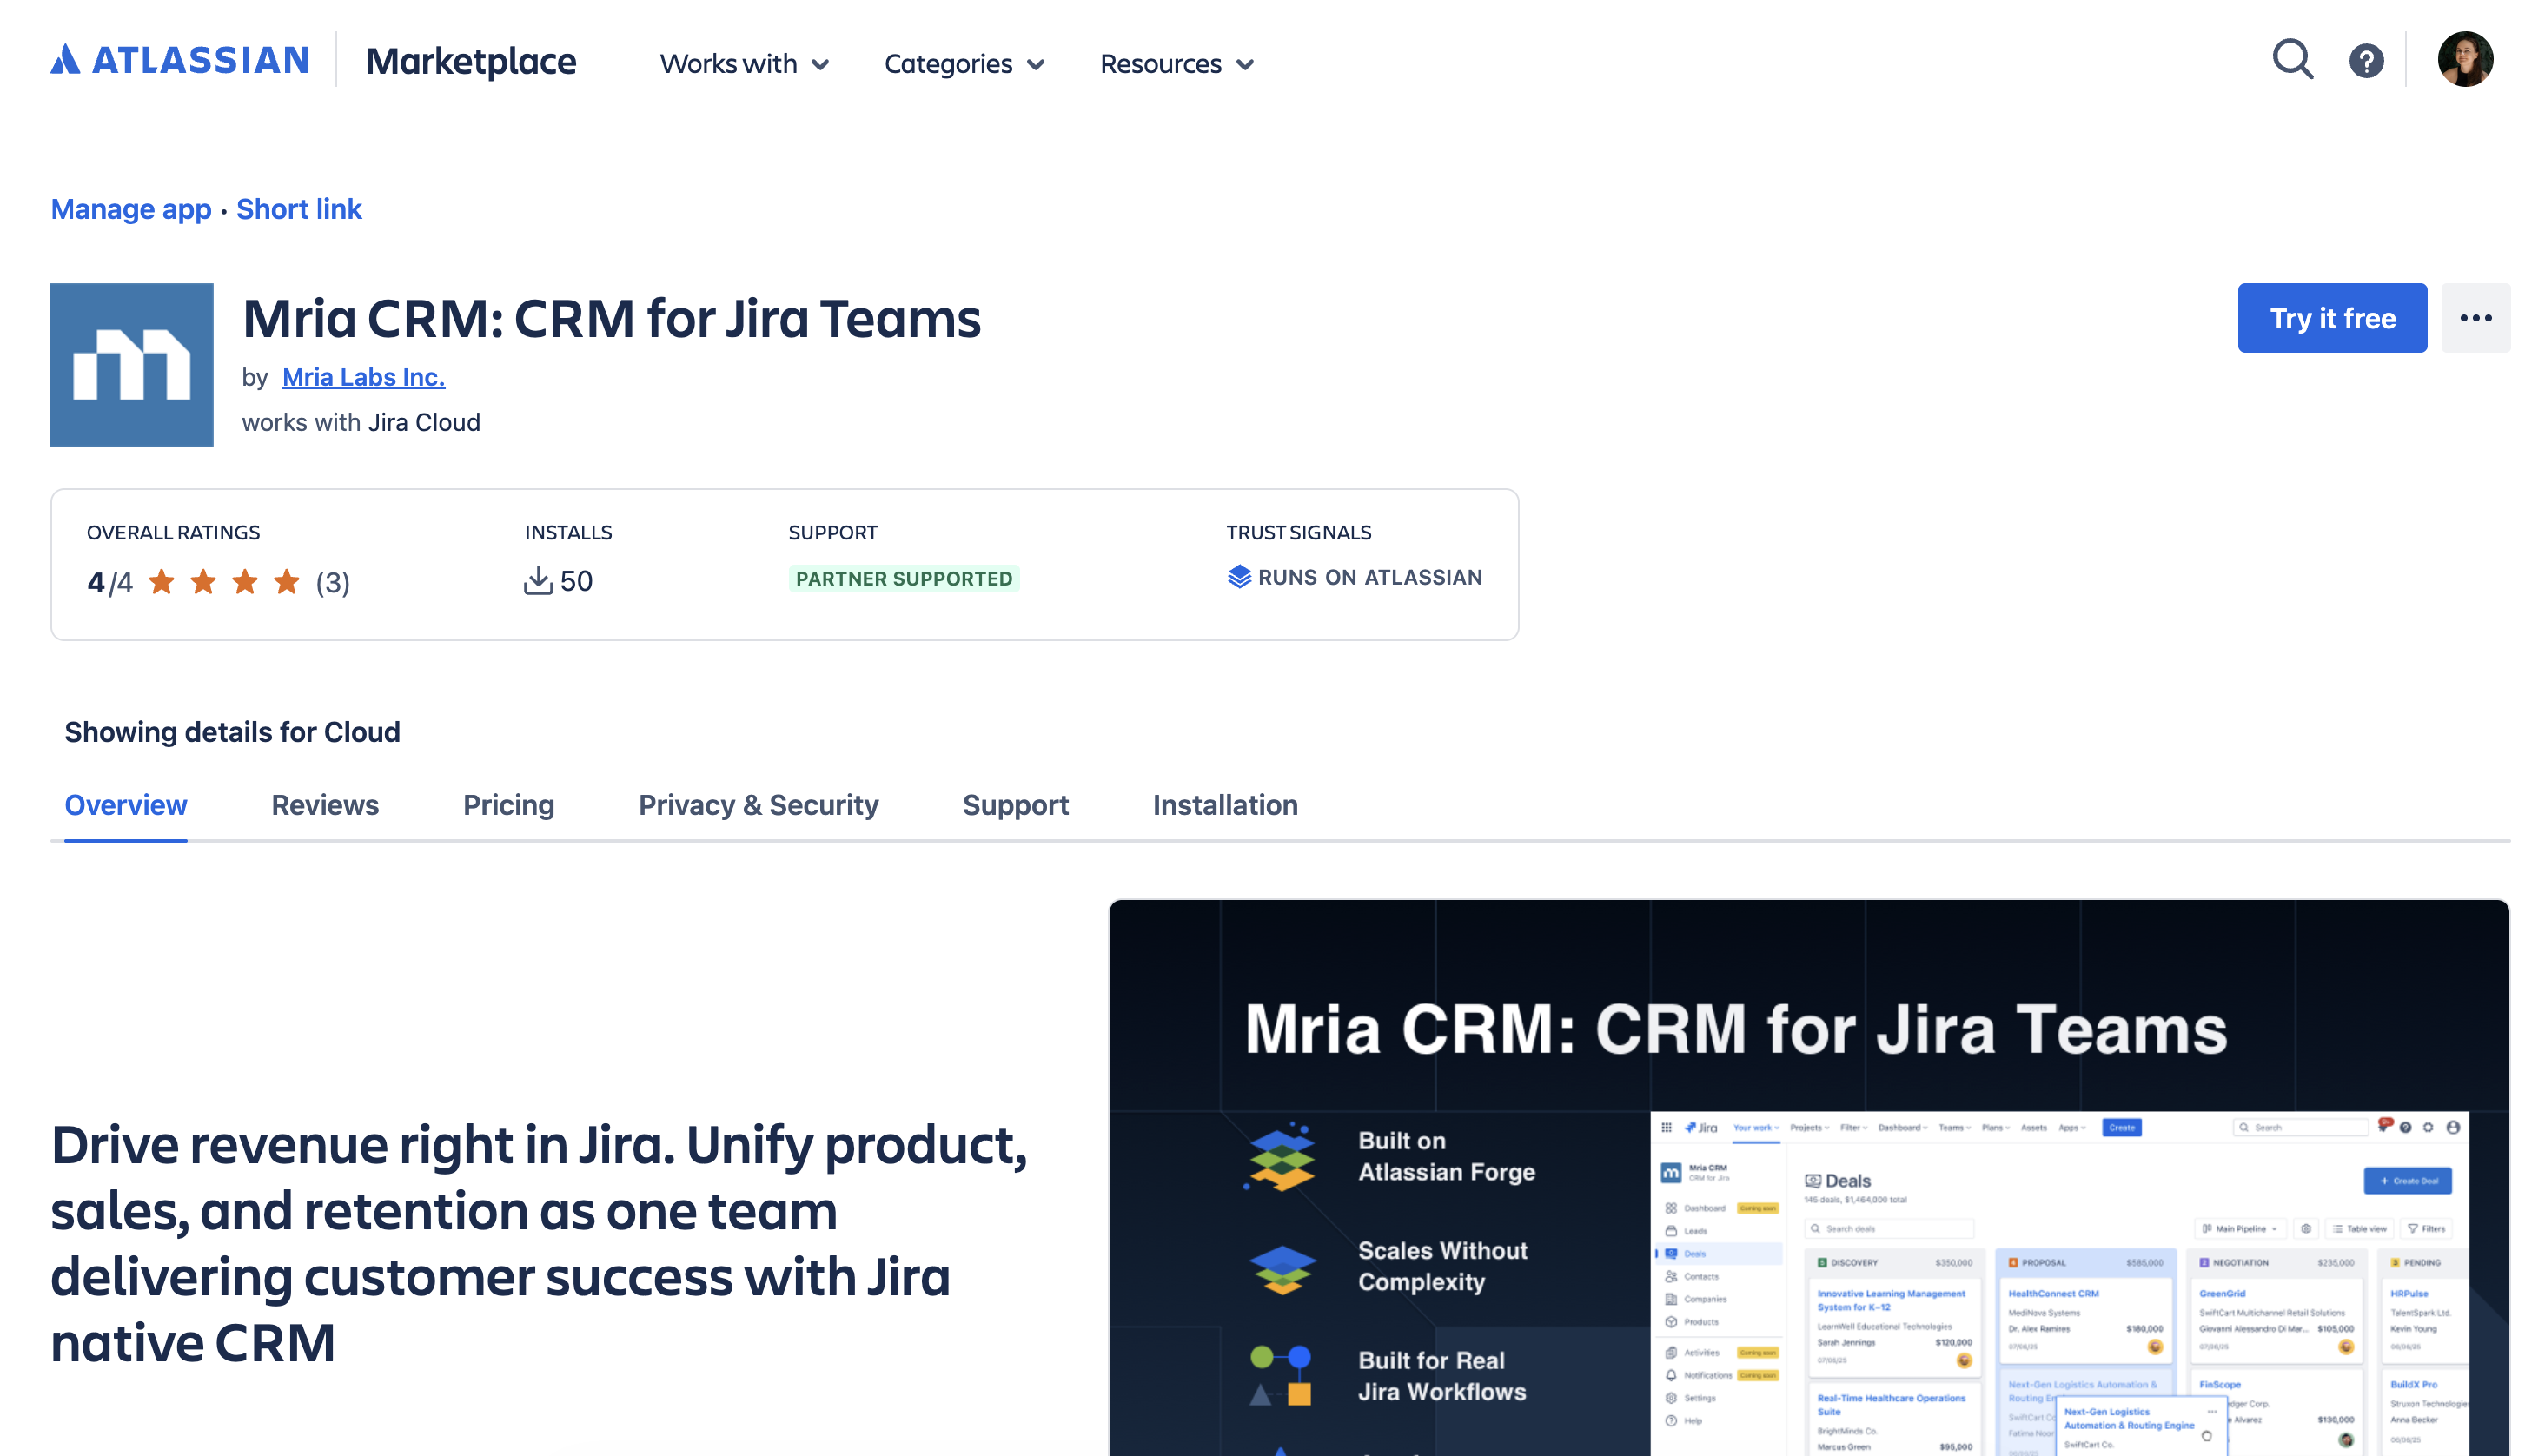
- Click on the Mria CRM listing to open the details page. Make sure it’s published by Mria Labs and has the Runs on Atlassian badge.
- Click Try it free.
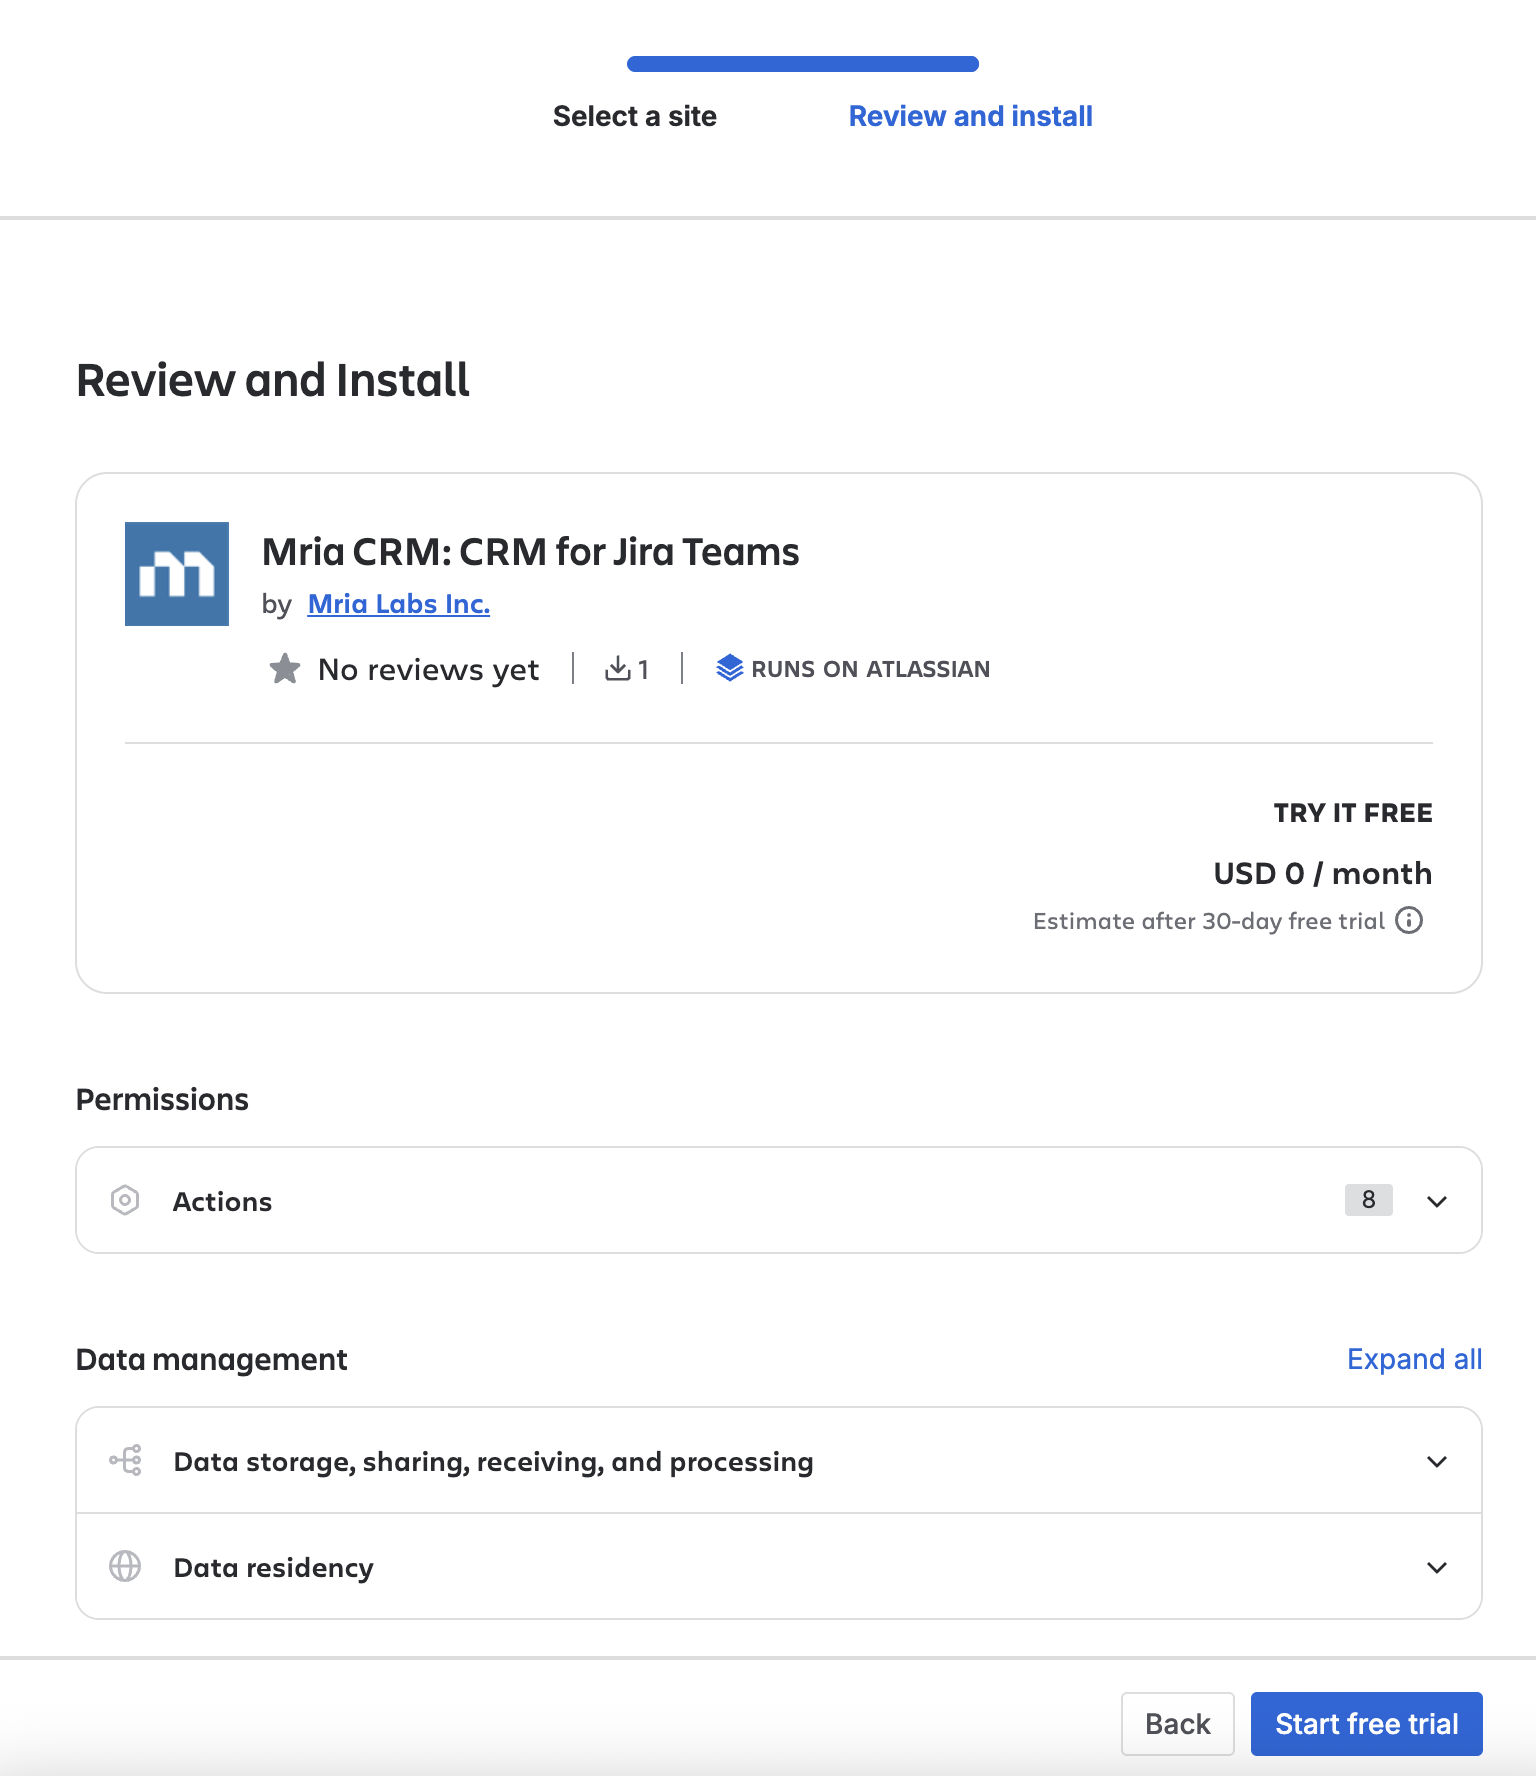
- Log in with your Atlassian account if prompted, then select your Jira Cloud site where the app should be installed. Click Review.
- Confirm by clicking Start free trial. If you don’t have admin rights, you’ll see a Request app button that sends a request to your Jira admin.
- Once installed, go to Jira → Apps → Mria CRM to launch the app.
💡 Note: You must be a Jira Administrator to install apps directly. Non-admins can only request the app.
Install via Jira “Manage Apps” (In-Product) #
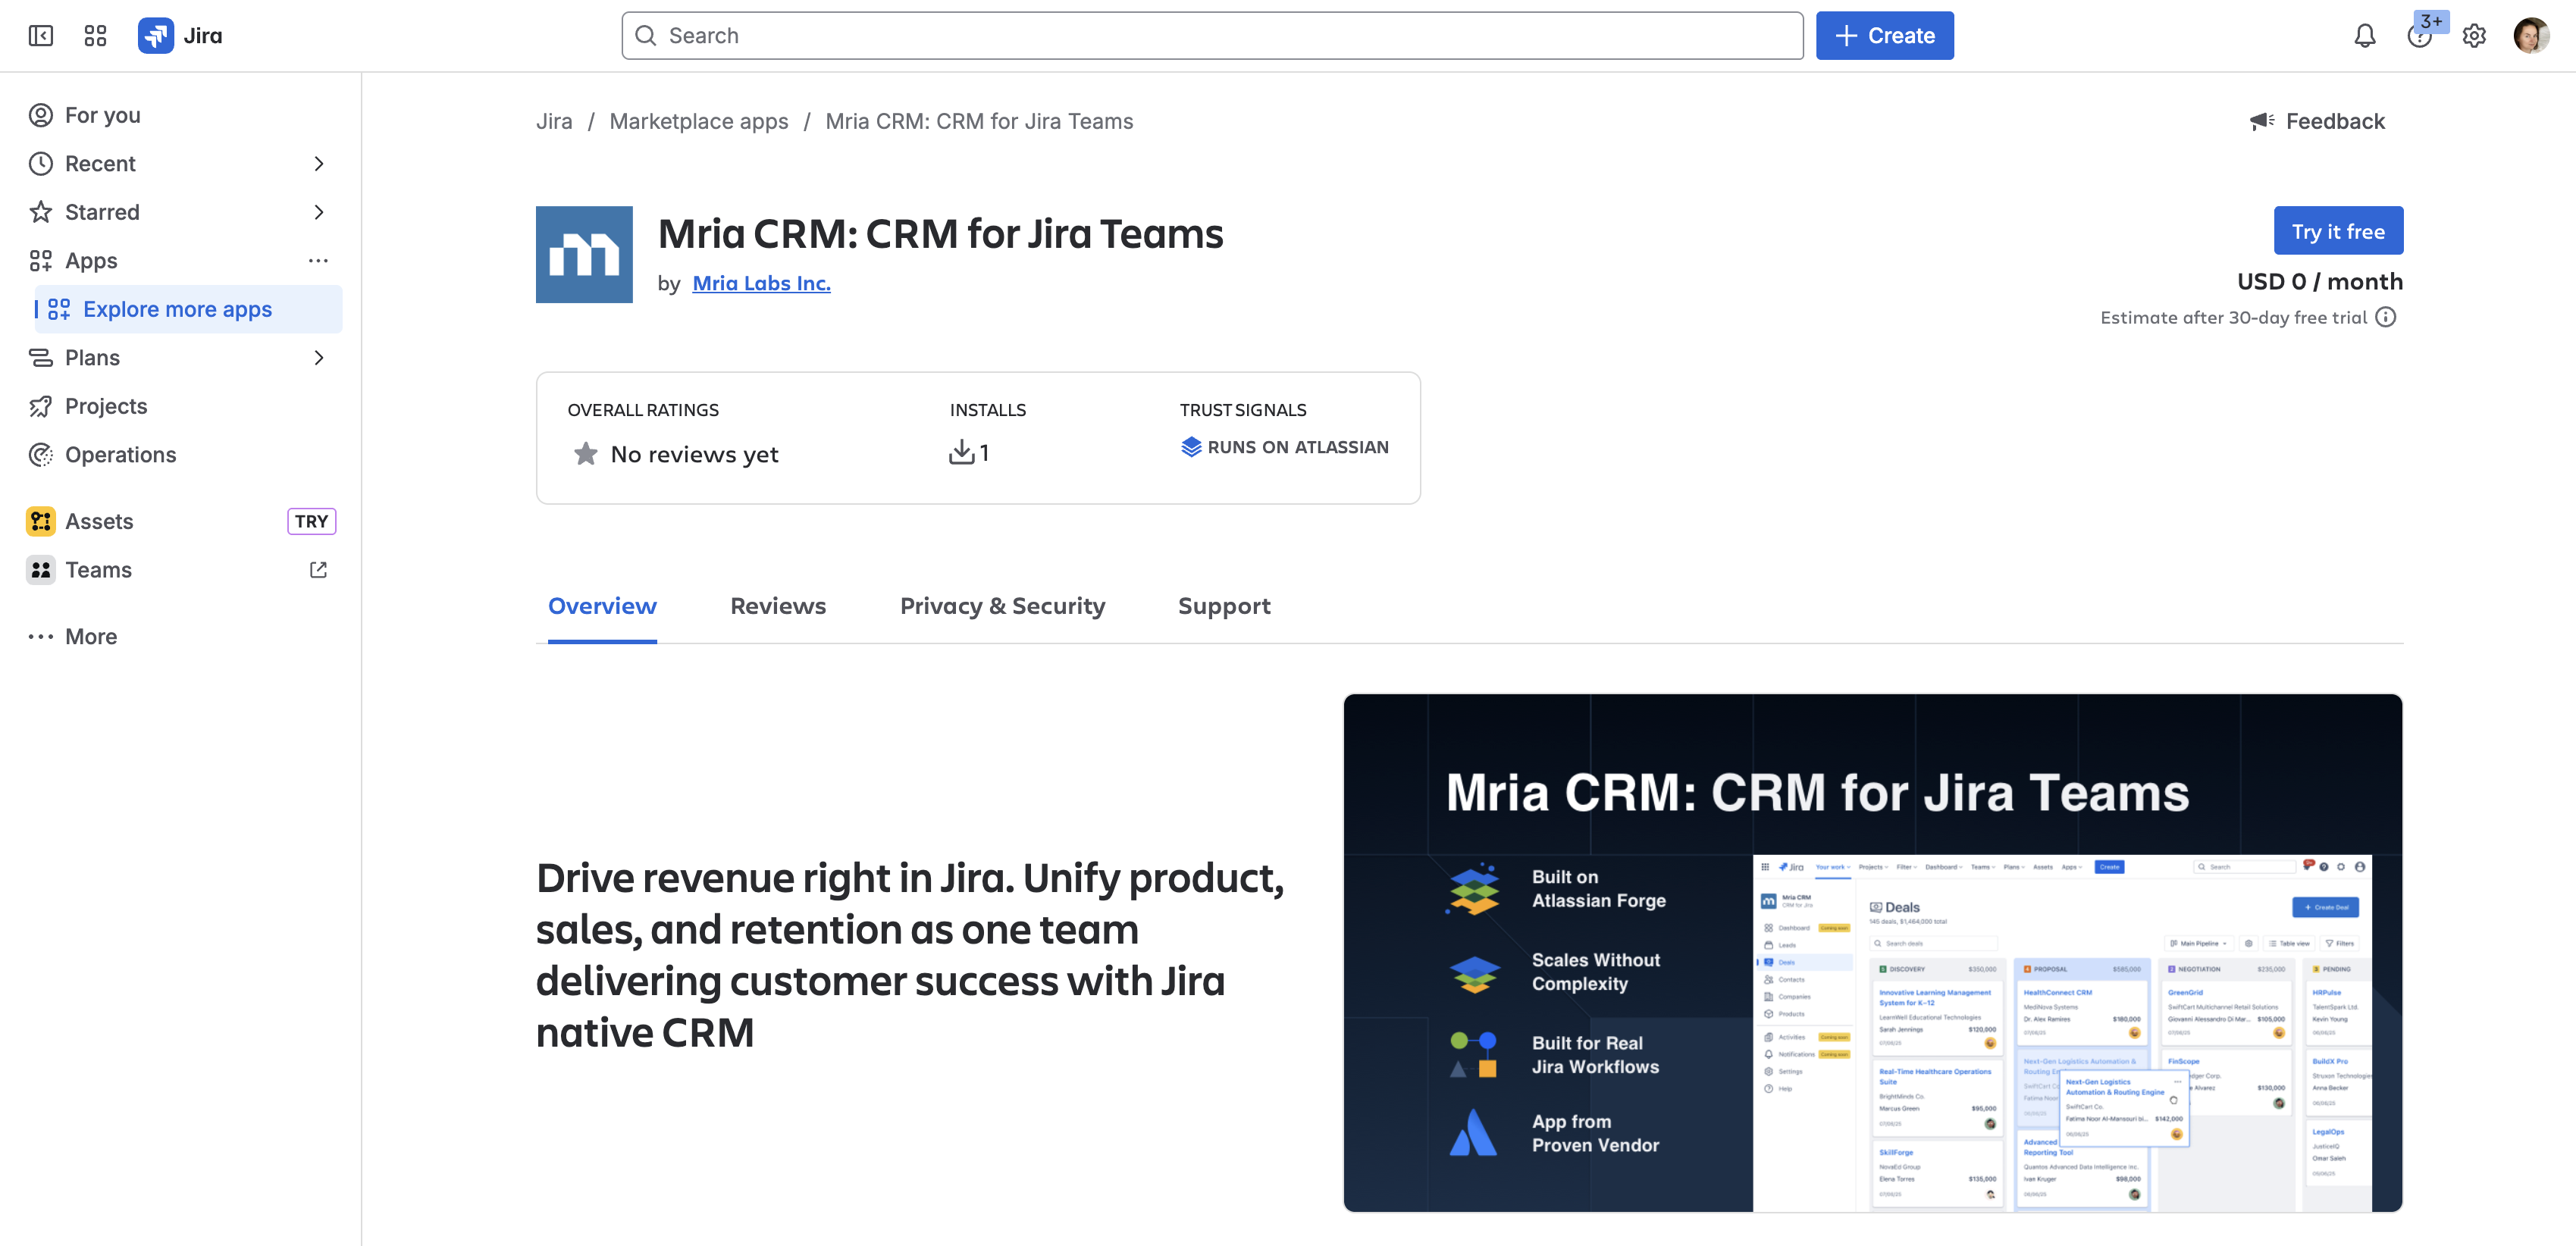
- In your Jira Cloud top navigation, click Apps → Explore more apps.
- In the search bar, type Mria CRM and press Enter.
- Select Mria CRM from the results to open details.
- Click Try it free.
- Select a site, review details and click Start free trial.
- After installation, you’ll see a confirmation message. Access the app from Apps → Mria CRM.
✅ That’s it! Mria CRM is now installed on your Jira Cloud site. You can start configuring your CRM and managing Leads, Deals, Contacts, and Companies directly within Jira.
The first time each user opens Mria CRM, a two-minute product overview introduces the modules. It can be replayed at any time from Settings → General.
Sample Data on New Installations #
When Mria CRM is installed on your Jira site for the first time, your workspace comes pre-populated with a small set of sample records across Leads, Deals, Contacts, Companies, and Products. Every sample record is tagged with the [SAMPLE] suffix so you can tell them apart at a glance.
Sample data is there so you can:
- See how each list, filter, Kanban board, and Report looks with real content — without spending time creating test entries.
- Get a feel for how entities link together: sample Deals reference sample Contacts, Companies, and Products so you can explore relationships end-to-end.
- Explore Dashboards — Sales Overview shows populated funnels and KPIs from the very first login.
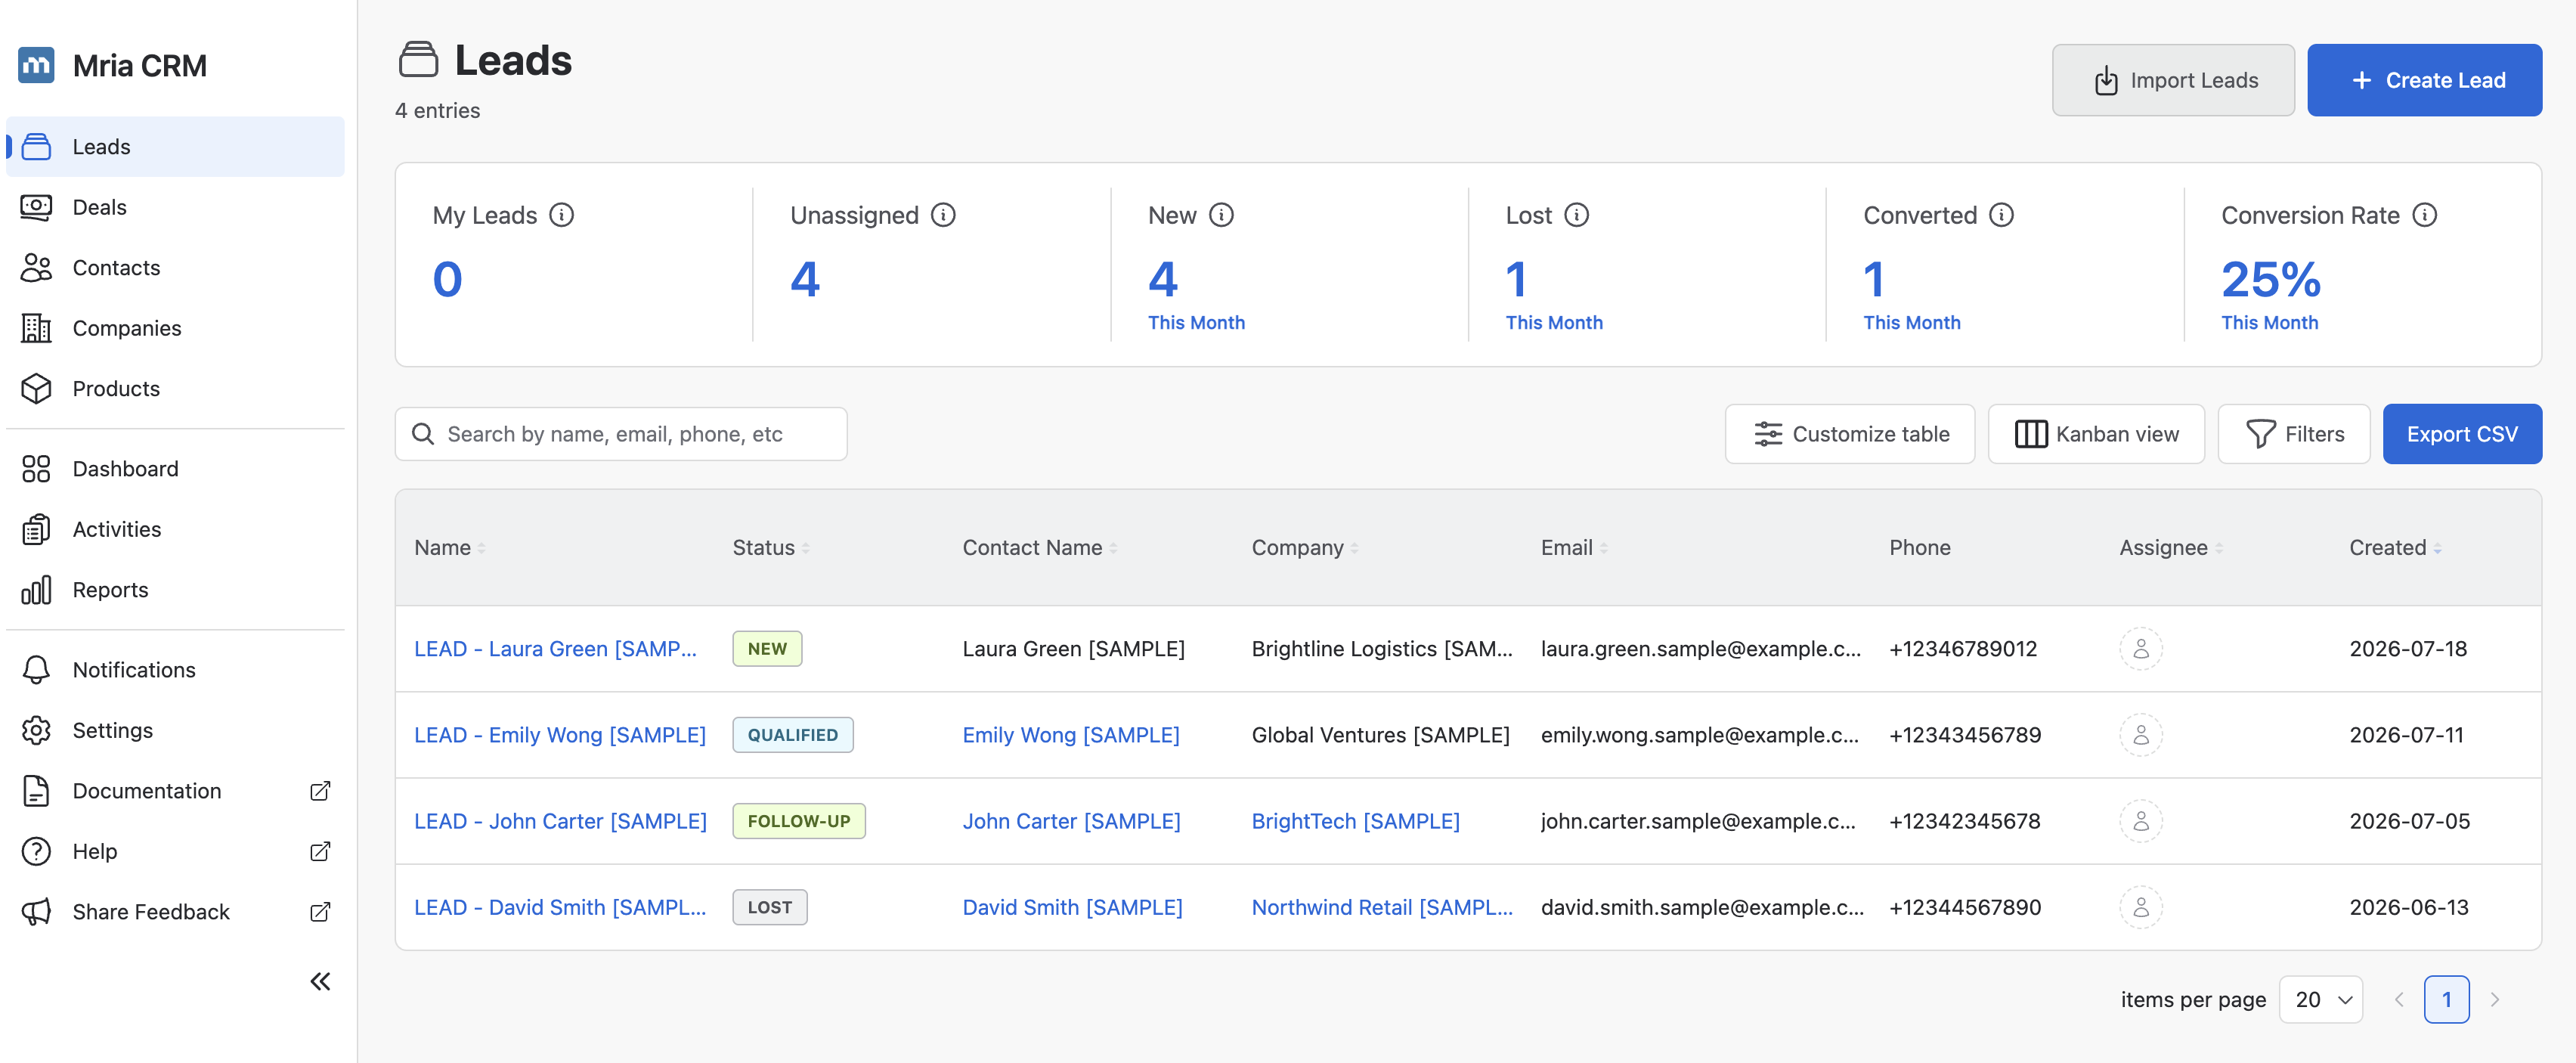
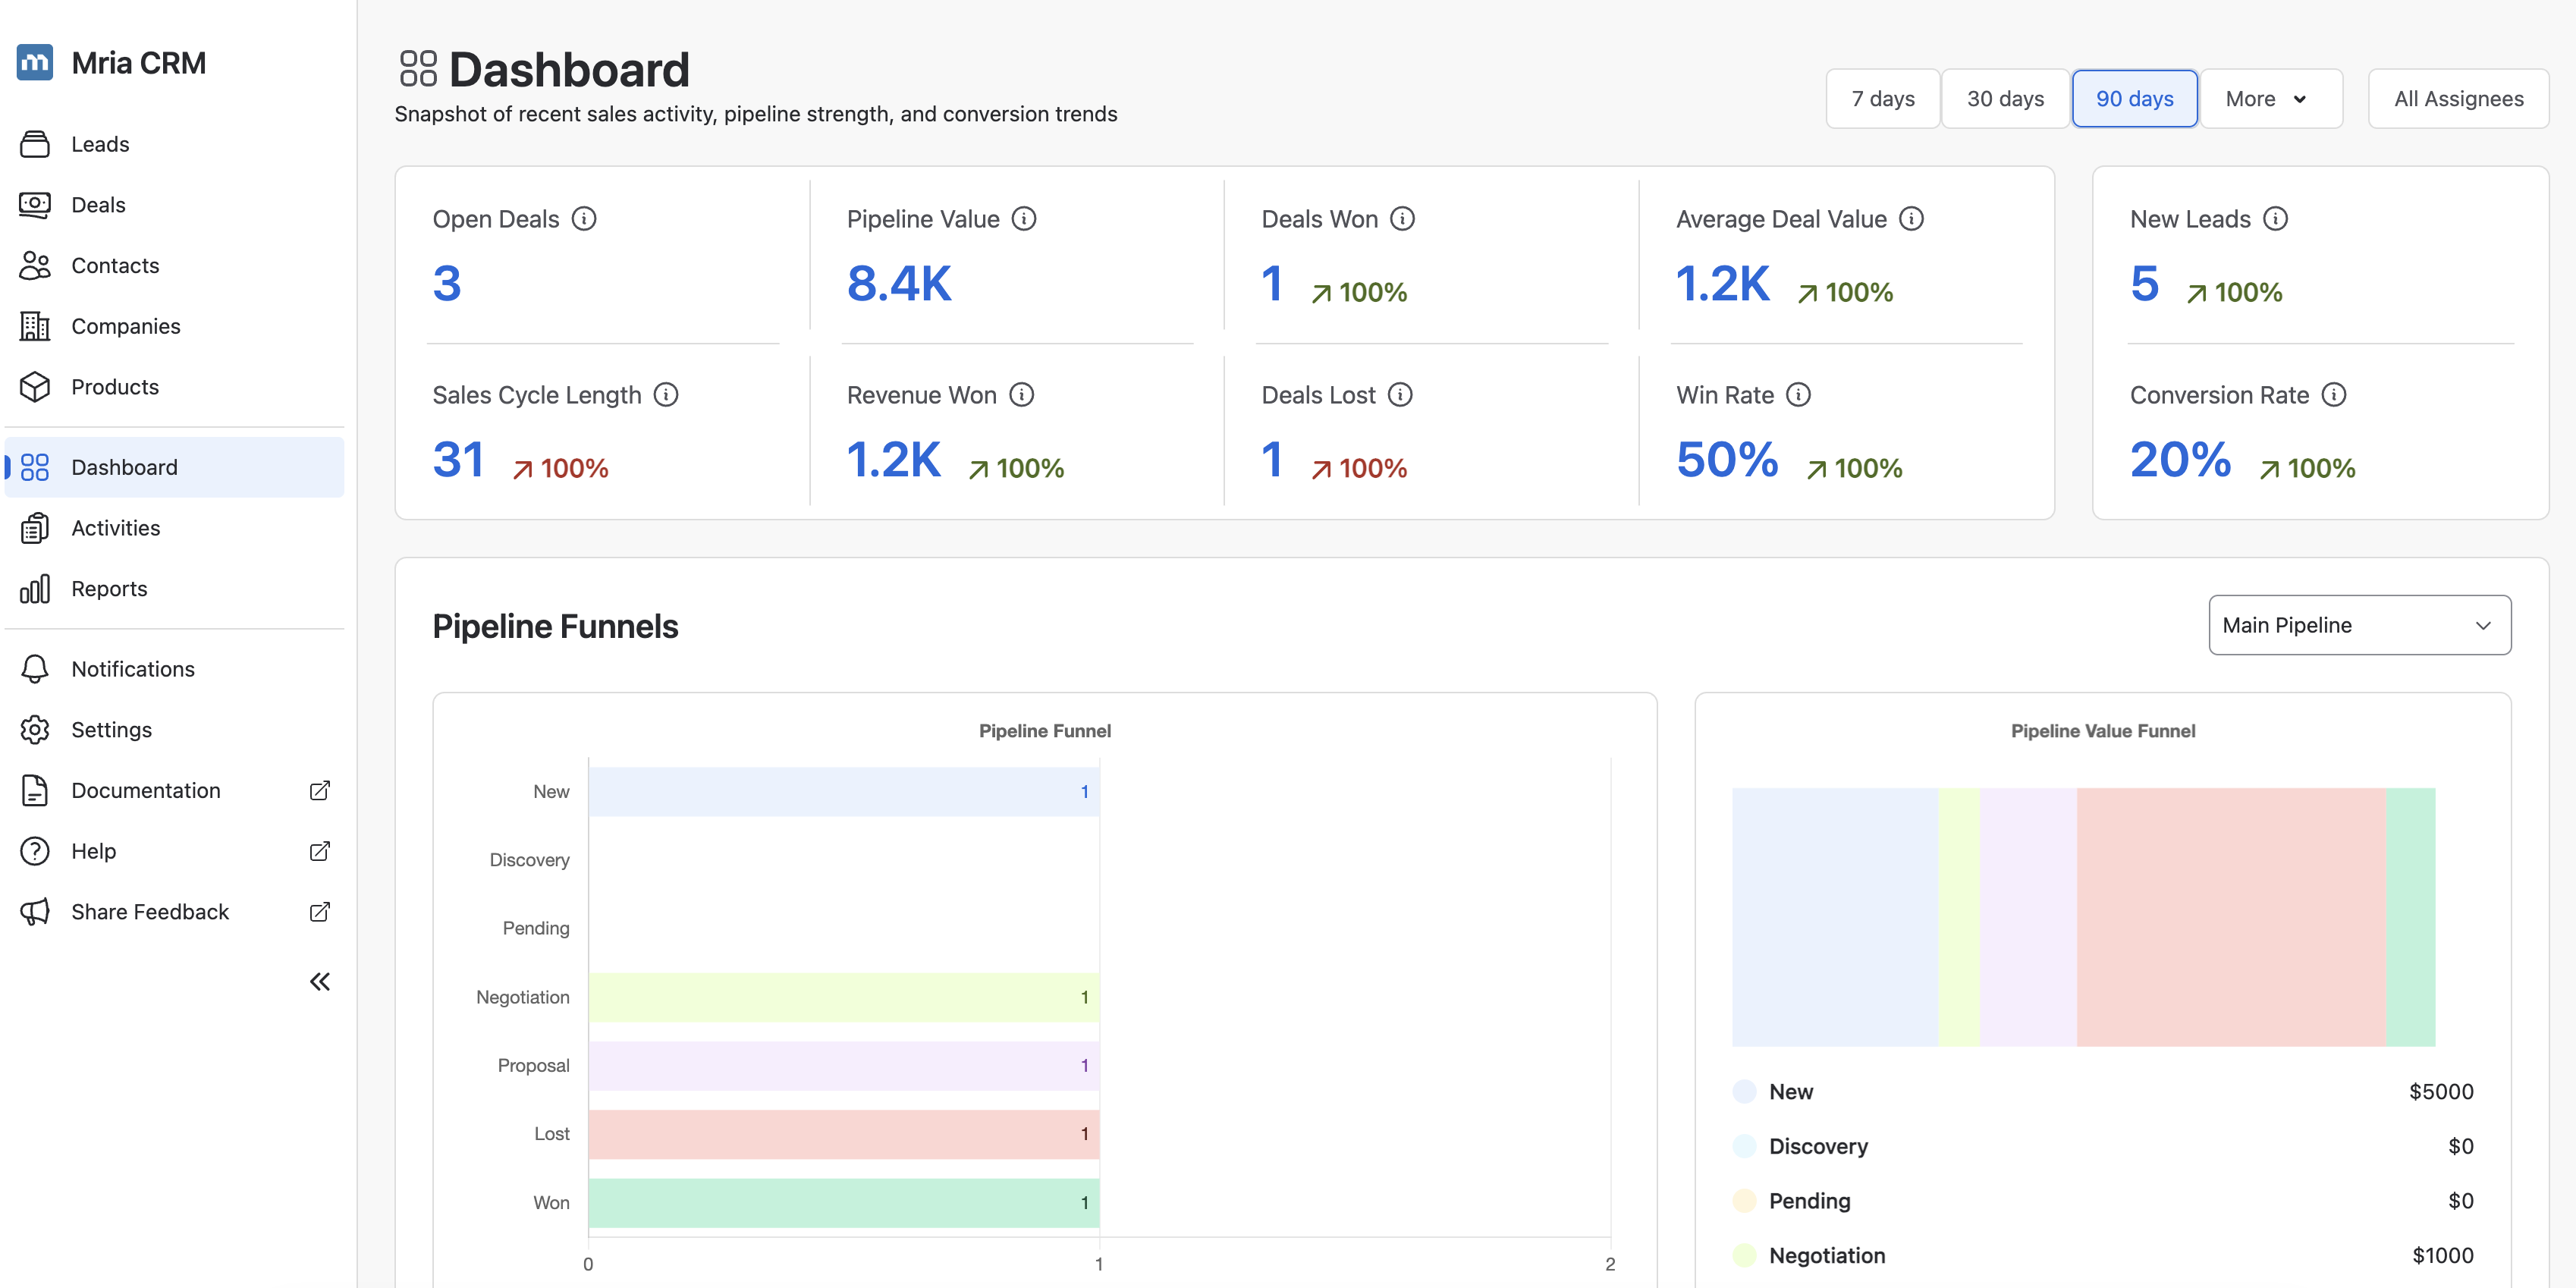
While sample records remain, the Leads, Deals, Contacts, Companies and Products lists carry a banner saying so, with the order to delete them in:

Click ✕ to dismiss it. It then stays hidden for you on all five lists.
Deleting sample data when you’re done trialing #
When you’re ready to switch to your own data, delete the sample records in this order to avoid dependency notifications (for example, “Contact is set as primary in a Deal”):
- Deals first
- Leads / Contacts / Companies — in any order
- Products last
Because Deals reference Contacts, Companies, and Products, removing Deals first clears those links cleanly before you touch the other entities.
Reports & Dashboards: deleting sample data also removes every trace of it from Reports and Dashboards. Once the cleanup is done, they reflect only your real data — no leftover sample rows or metrics.
Updates and New Permissions #
Mria CRM ships as a Forge rolling release. New versions install on your site automatically — there is no update button to press and nothing to schedule, so most releases simply appear.
The exception is a release that asks for additional permissions. Atlassian never grants those silently, so a Jira admin has to approve them. Until then:
- the features that need the new permissions stay inactive;
- every other feature and fix in the release works normally — a pending approval does not hold back the rest of the version.
Approving new permissions #
You need to be a Jira administrator, or an organization admin, to do this.
- Open Apps → Manage your apps in Jira, then follow Connected Apps through to Atlassian Administration. (Direct route: Administration → your site → Settings → Connected apps.) Or open it directly:
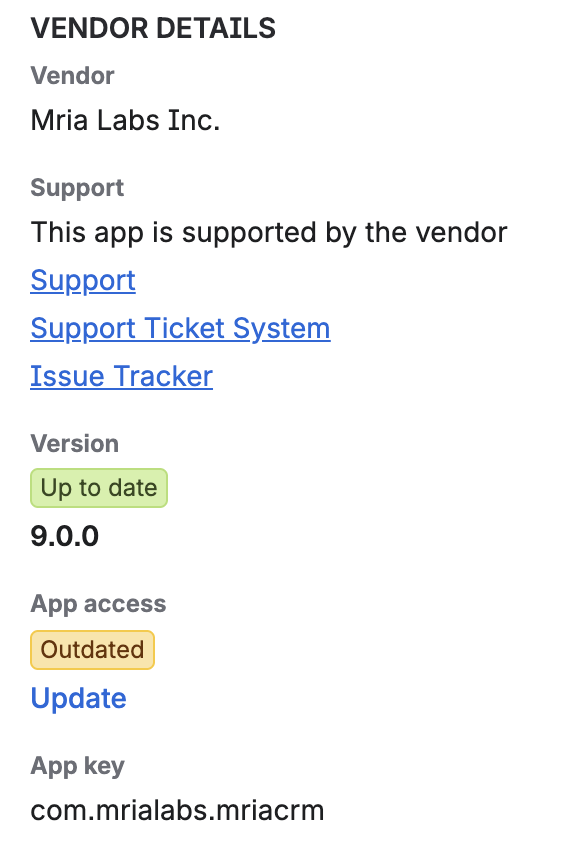
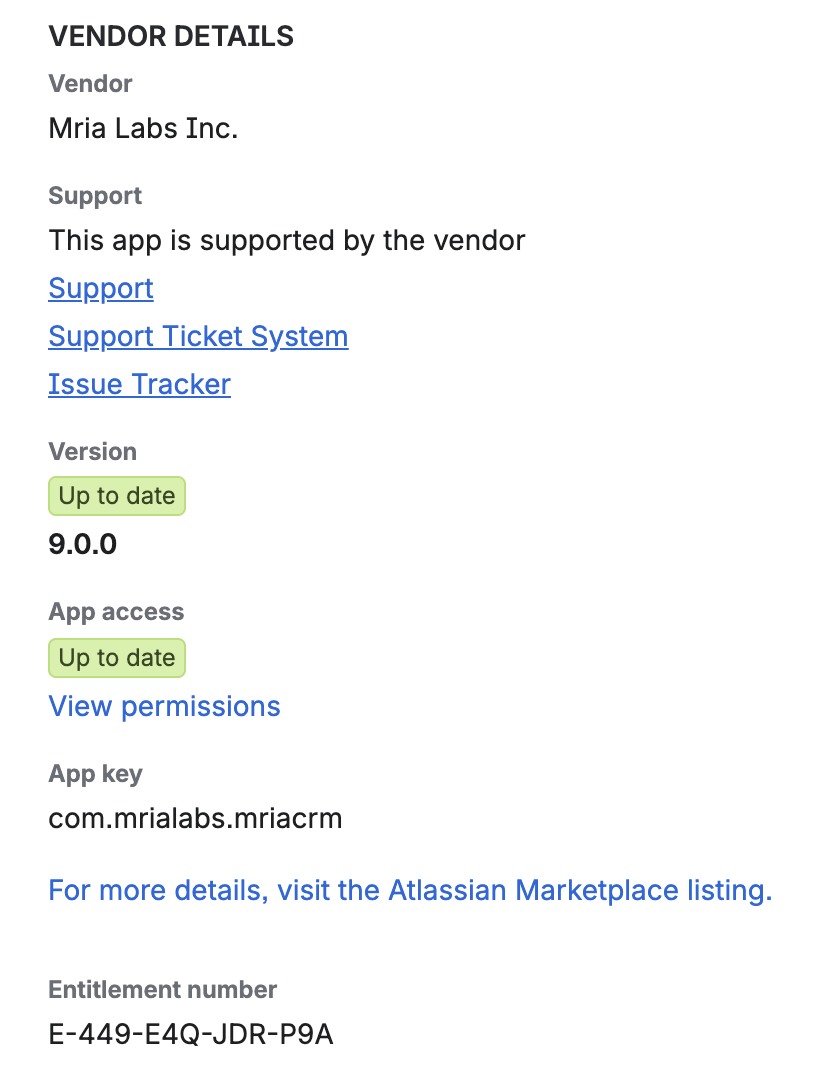
https://admin.atlassian.com/s/<site-id>/user-connected-apps, where<site-id>is the identifier shown after/s/in the address bar of any Atlassian Administration page for that site. It is different for every site, so keep one link per site if you administer several. - Find Mria CRM in the list and open View app details. When permissions are waiting, App access reads Outdated with an Update link next to it.
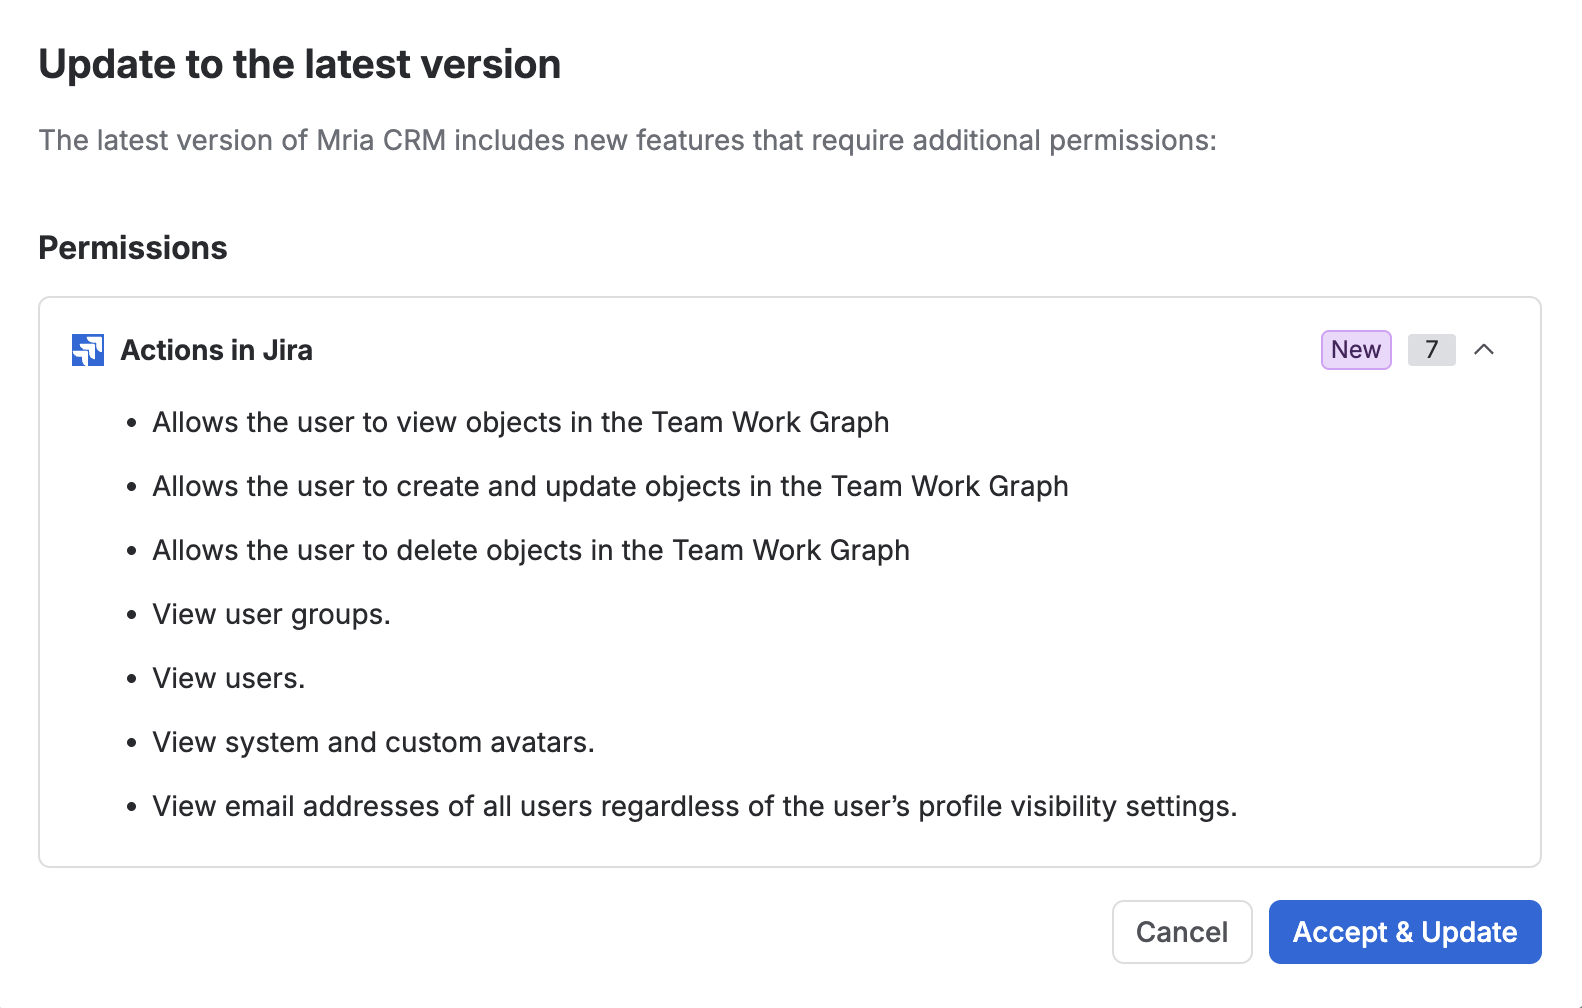
- Click Update. The Update to the latest version dialog lists exactly what is being requested.
- Review the list and click Accept & Update. Cancel leaves everything as it is — the version stays installed, the gated features stay off.
- Afterwards, App access reads Up to date, and View permissions shows what the app currently holds.
What the Teamwork Graph permissions cover #
Mria CRM requests seven permissions, grouped in the dialog under Actions in Jira. They exist for Teamwork Graph support, which publishes CRM records to the shared index behind Atlassian search and Rovo:
- Allows the user to view objects in the Team Work Graph
- Allows the user to create and update objects in the Team Work Graph
- Allows the user to delete objects in the Team Work Graph
- View user groups.
- View users.
- View system and custom avatars.
- View email addresses of all users regardless of the user’s profile visibility settings.
Approving these is what switches on Teamwork Graph support and the Mria CRM custom fields in Jira. Features that do not depend on them keep working while approval is pending.
Release Notes
Permissions are approved per site. If your organization runs Mria CRM on more than one Jira site, each one needs its own approval.
If you need to uninstall or manage the app later, go to Jira Settings → Apps → Manage apps.
For help, visit the Mria CRM User Guide or contact Mria Labs Support.


