Lead Statuses and Lead Sources let you control how Leads are tracked and categorized in your workspace — from where they came in to where they are in your qualification process.
Both are configured under Settings → Leads, on two tabs: Lead Statuses and Lead Sources.
📌 Looking for custom Lead fields? Lead Statuses and Sources are managed here, but custom fields on Leads (Lead Score, Estimated Budget, Decision Timeline, etc.) live on their own Settings tab. See Custom Fields for setup.
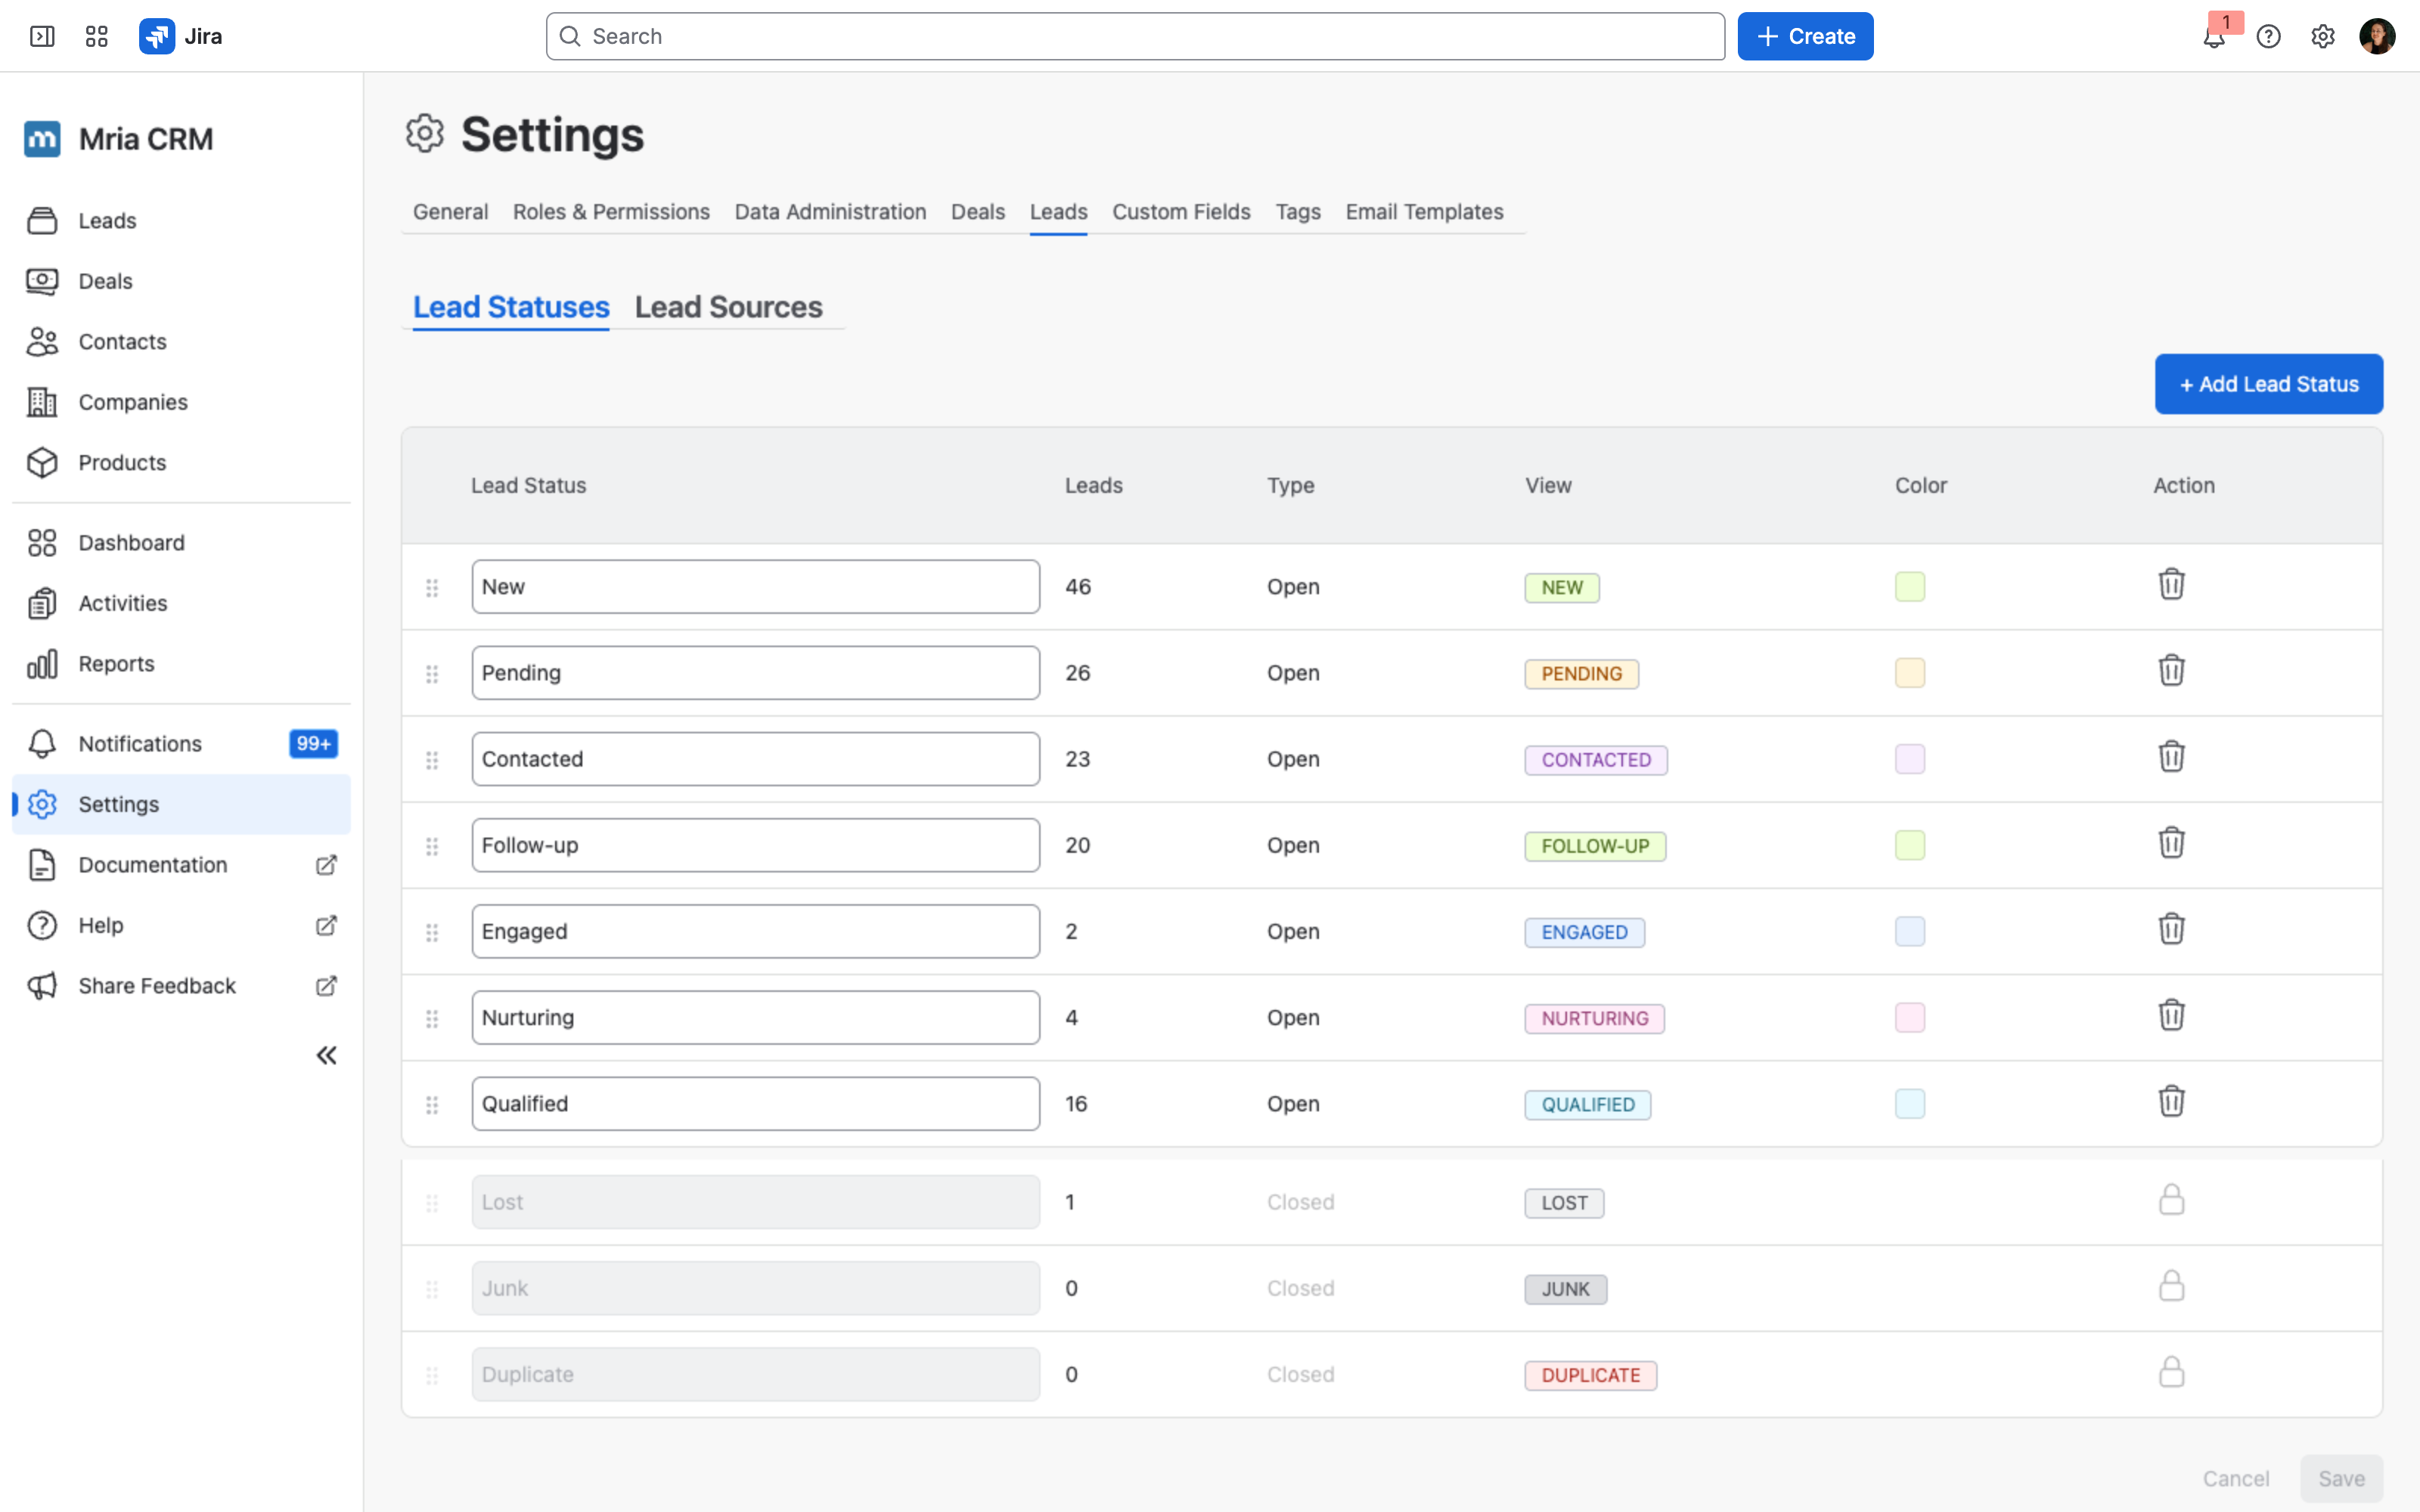
Lead Statuses #
Lead Statuses describe where a Lead is in your qualification process. Every Lead always has exactly one status.
Each status has:
- A name (editable for custom statuses)
- A type —
OpenorClosed - A view label (the colored badge shown across the CRM)
- A color
- A lead count (how many Leads currently have this status)
You can:
- Add new Open statuses
- Rename Open statuses
- Reorder statuses by drag-and-drop
- Change status colors
- Delete Open statuses
Default statuses #
Every workspace starts with a set of default statuses:
Open
- New
- Pending
- Contacted
- Follow-up
- Engaged
- Nurturing
- Qualified
Closed (system statuses)
- Lost
- Junk
- Duplicate
Closed system statuses (Lost, Junk, Duplicate) are locked — they cannot be renamed or deleted, and are shown with a lock icon in the Action column.
Adding a status #
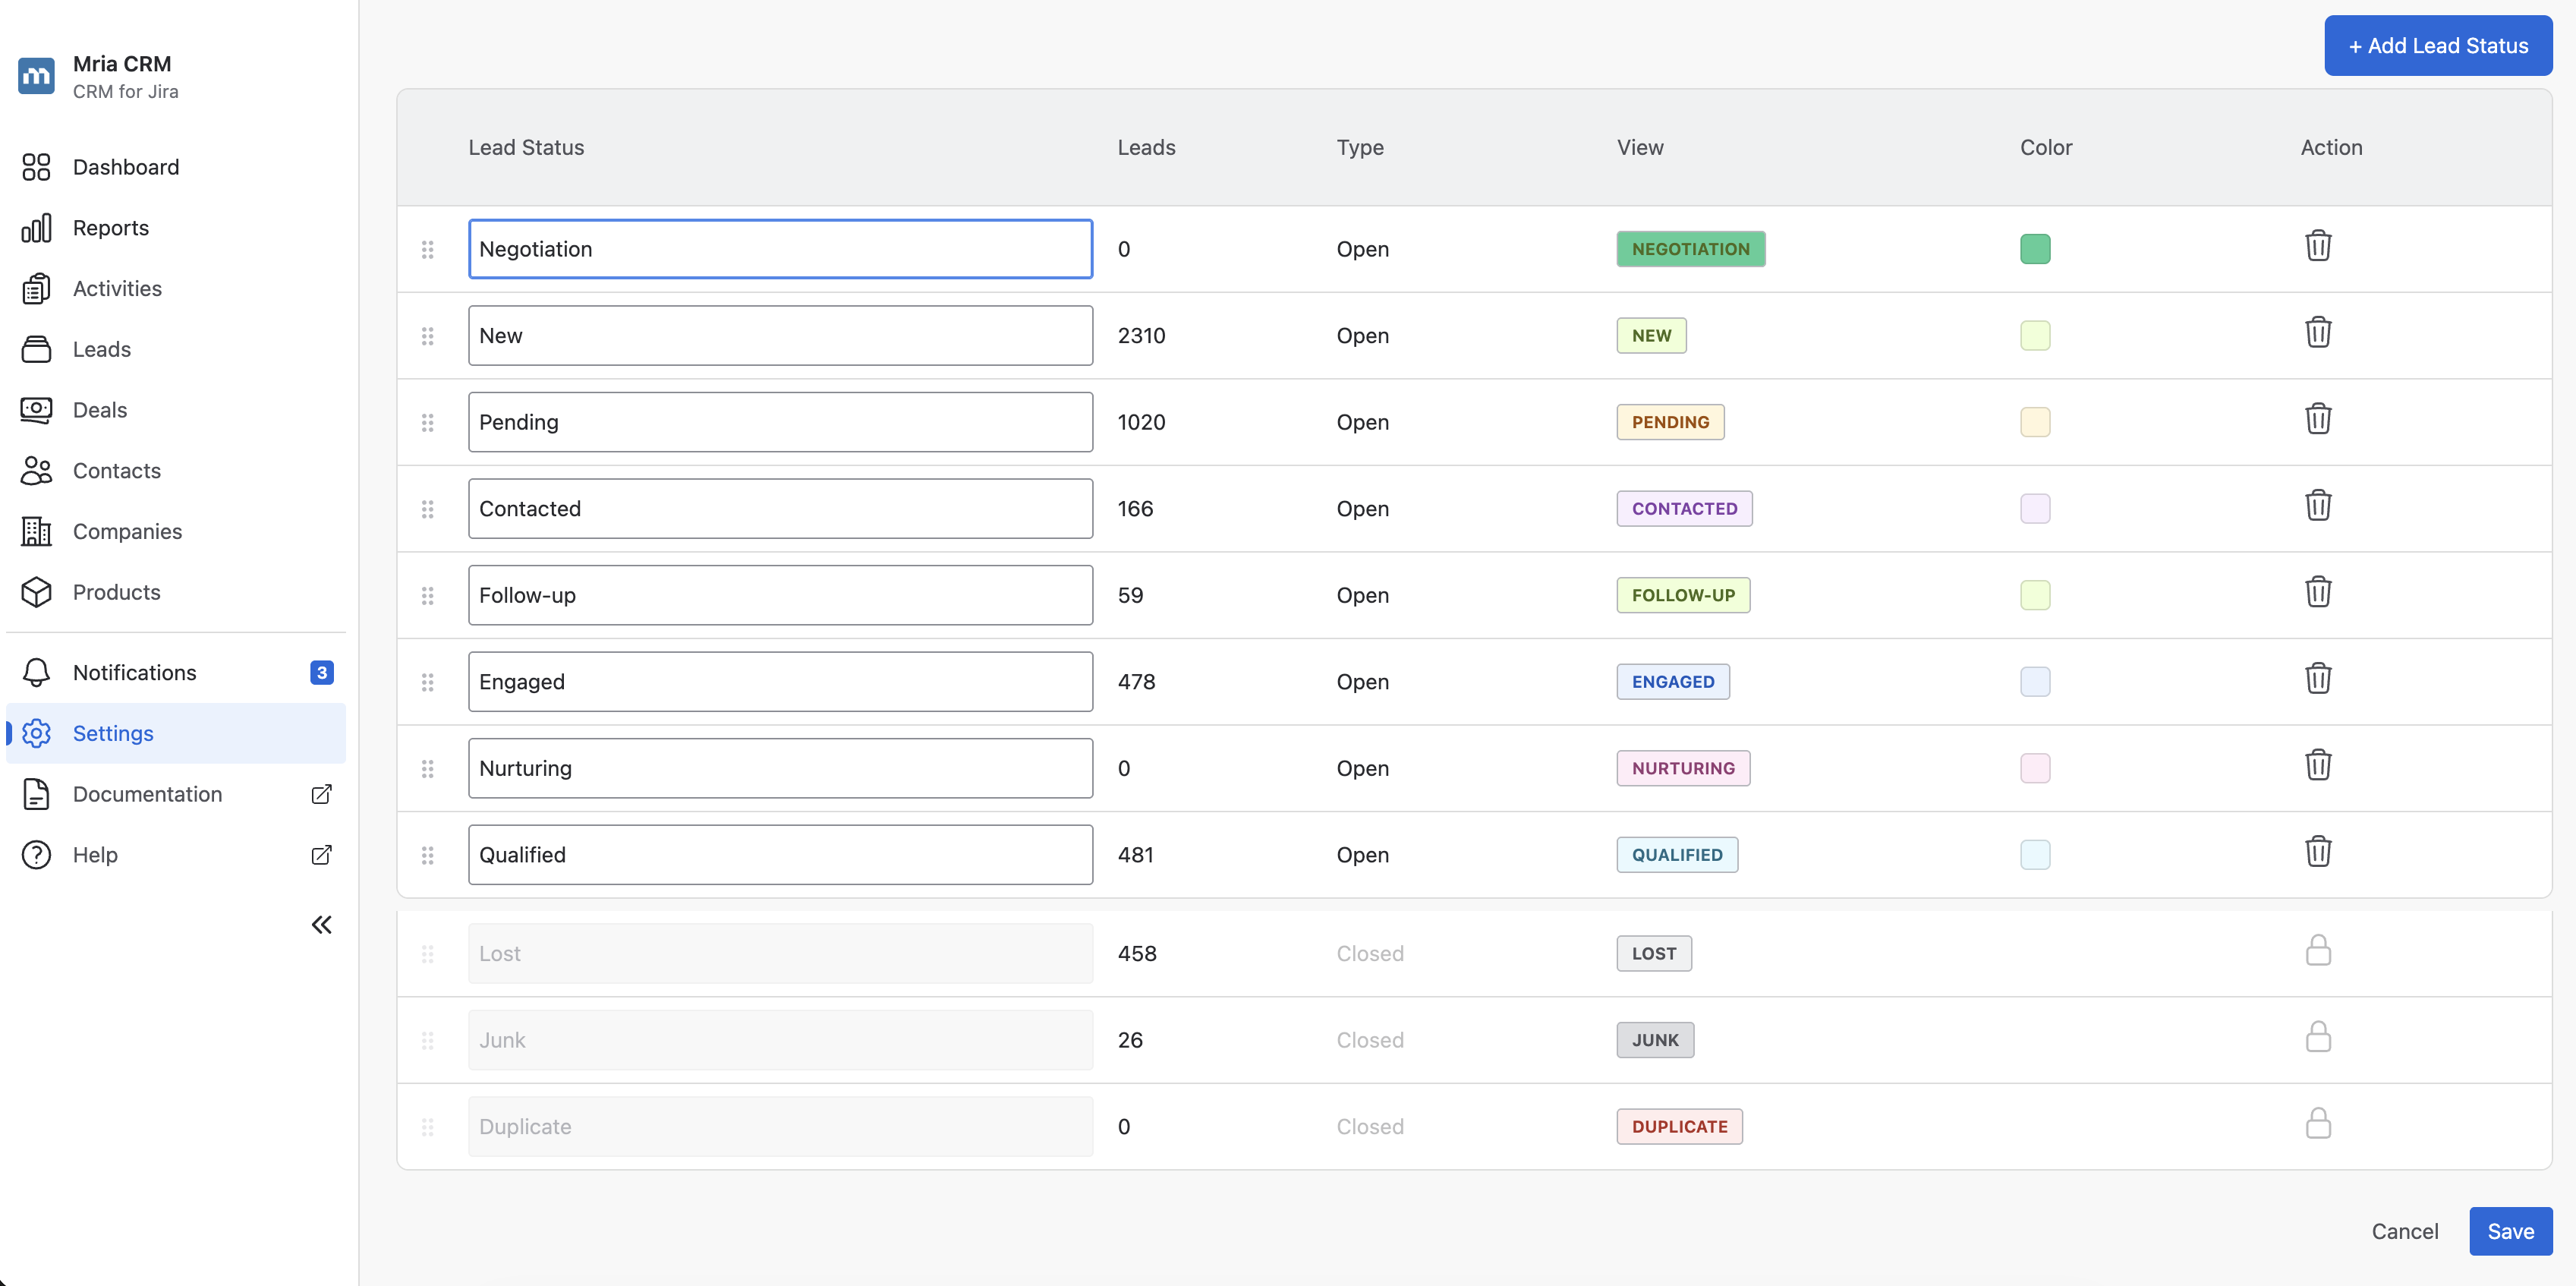
Click + Add Lead Status to add a new row at the top of the list. New statuses are always created as Open — only Open statuses can be added or edited.
Give the status a name, pick a color, and click Save.
Reordering statuses #
Drag the handle on the left of any row to reorder statuses. The order you set here is the order used everywhere statuses appear in the CRM — filters, dropdowns, Kanban columns, and reports.
Status colors #
Each status has a color, which is used for its badge across the CRM:
- Leads list and Kanban view
- Lead detail page
- Dashboards and reports
Colors help you visually scan where Leads are in the funnel.
Deleting a status #
System Closed statuses (Lost, Junk, Duplicate) cannot be deleted.
When you delete an Open status:
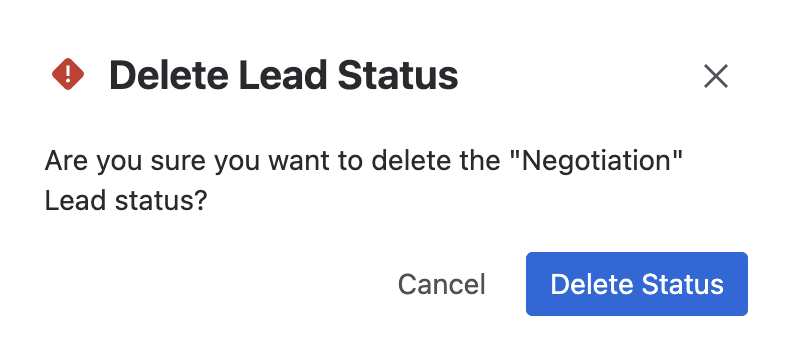
- If the status has no Leads, you’ll be asked to confirm and it’s removed.
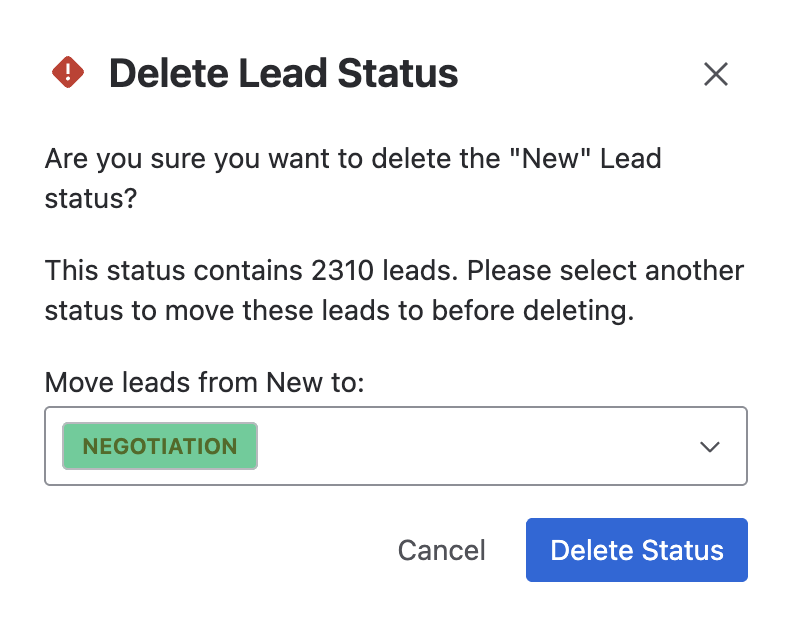
- If the status has Leads, you’ll be asked to pick another status to move those Leads to before deletion.
Lead Sources #
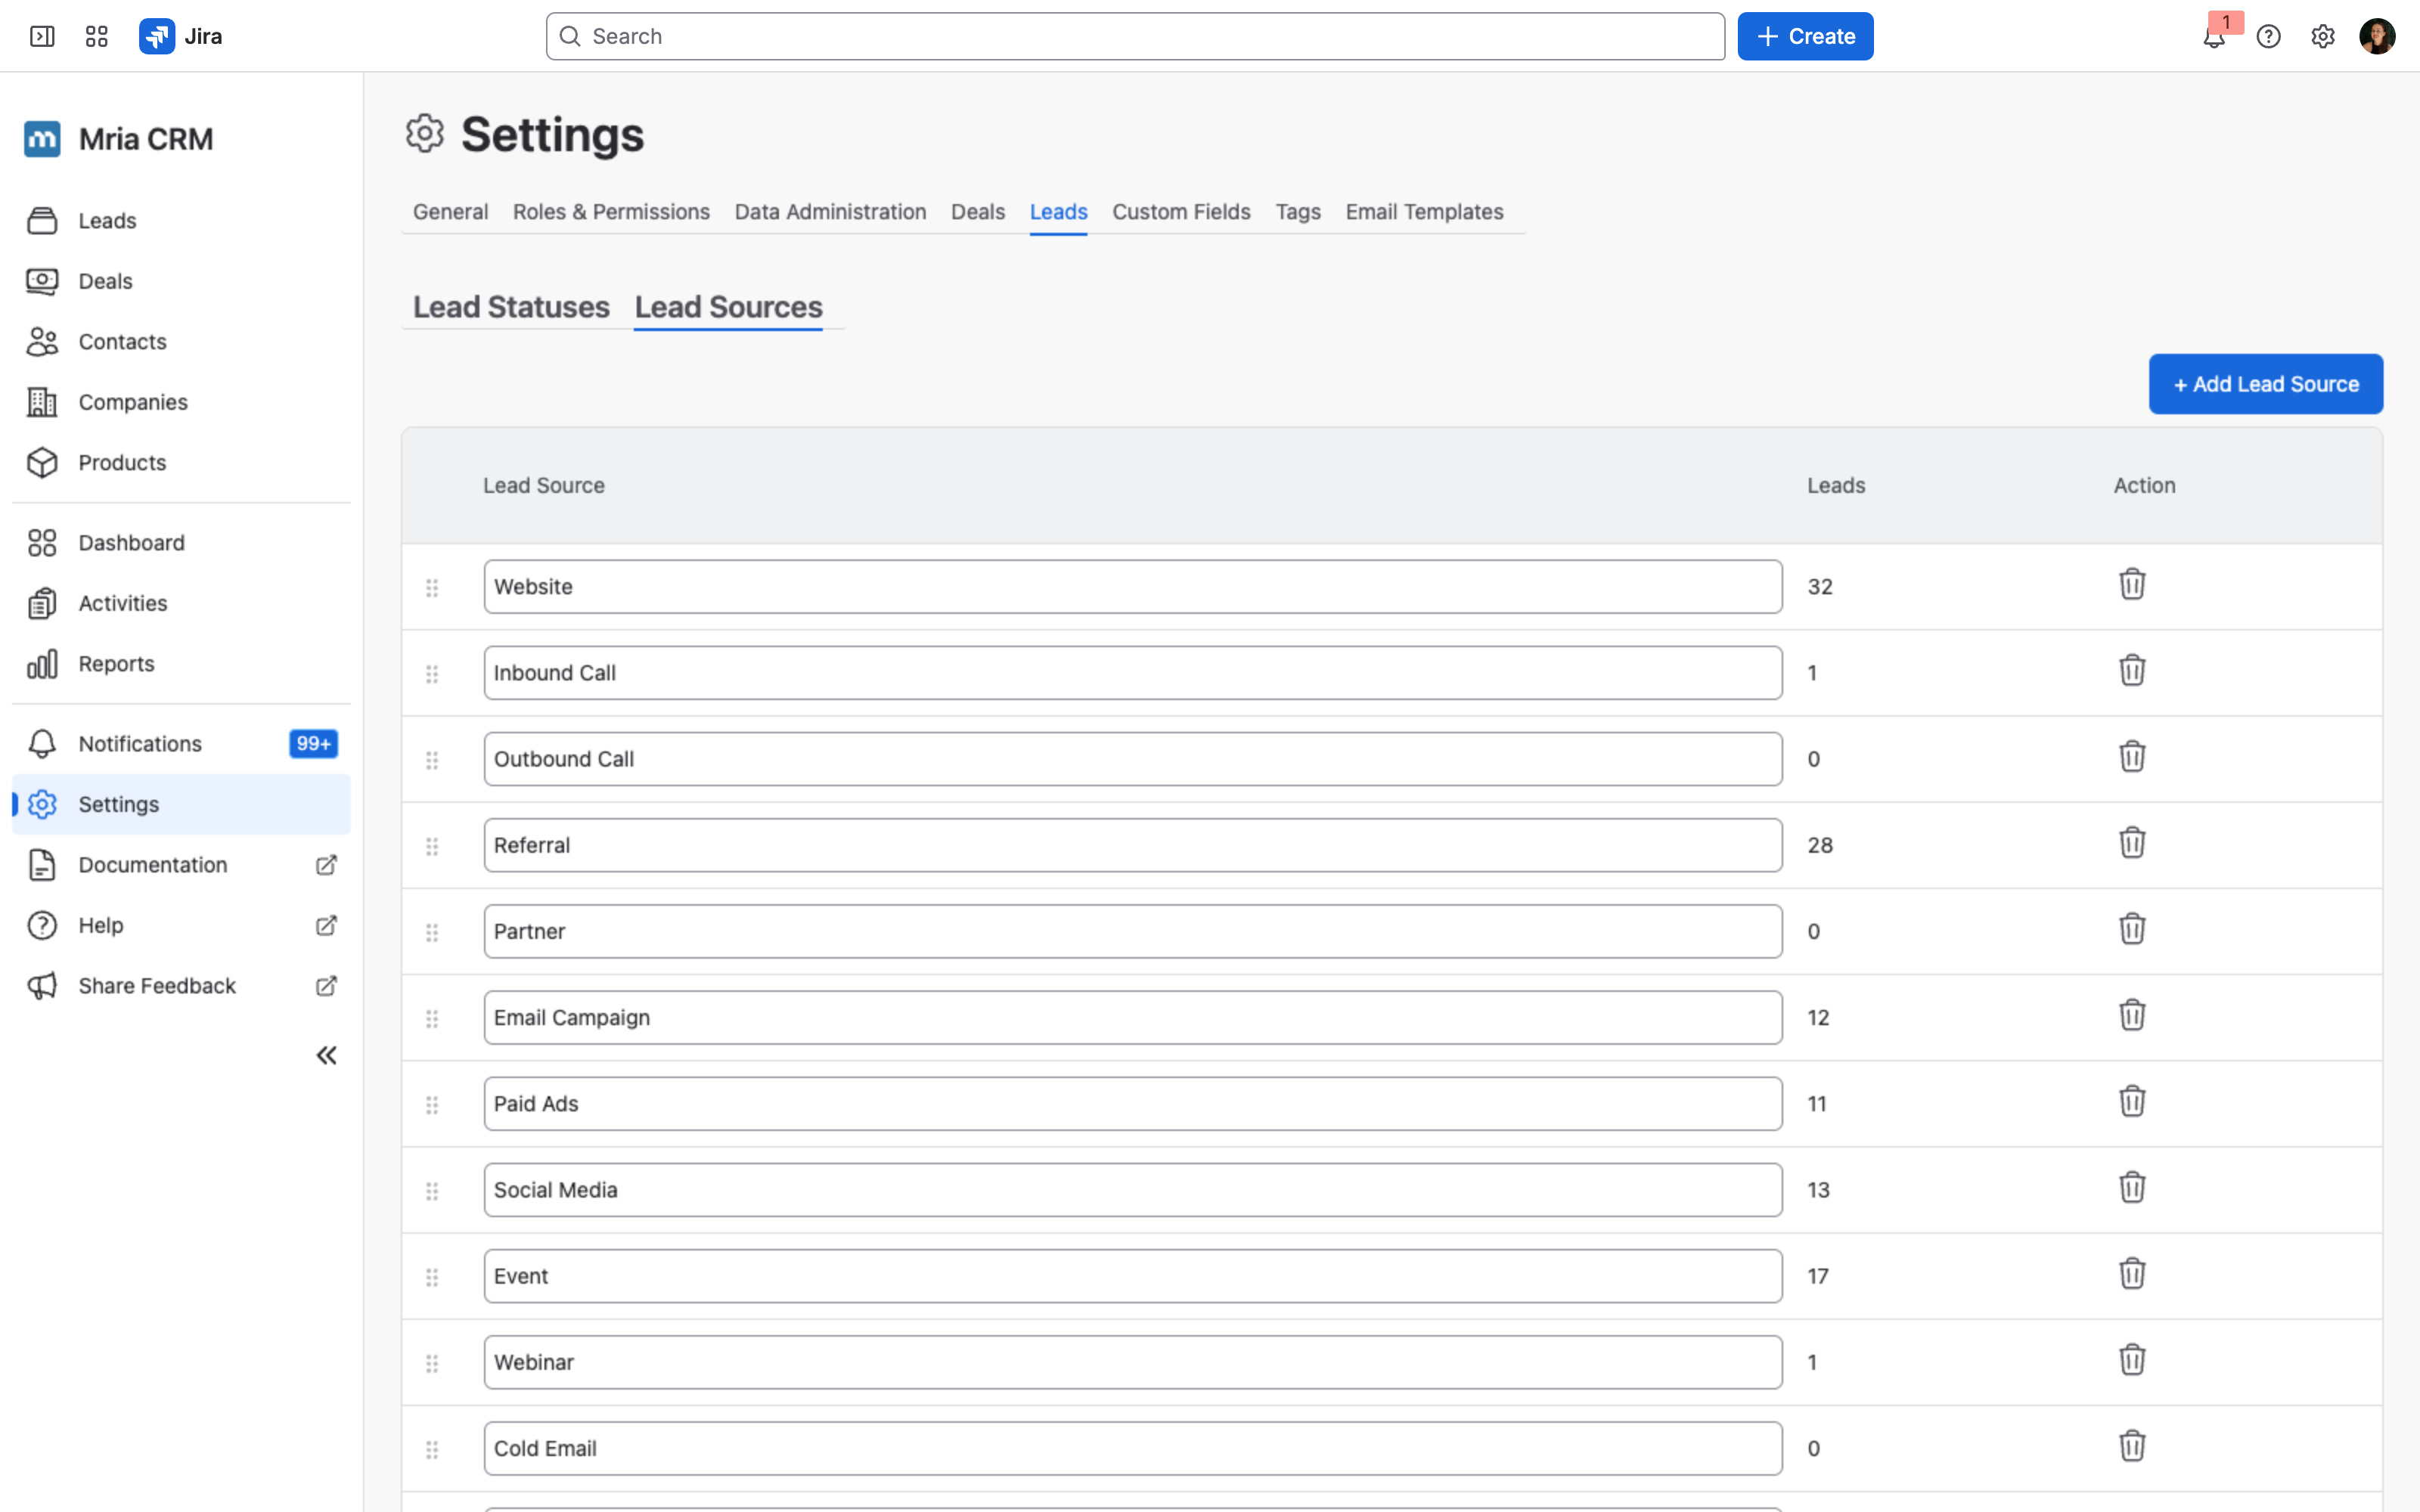
Lead Sources describe where a Lead came from — the channel, campaign, or referral path that brought them into your CRM.
Each source has:
- A name
- A lead count (how many Leads are attributed to this source)
You can add, rename, reorder, and delete sources.
Default sources #
Every workspace starts with a set of default sources you can use right away:
- Website
- Inbound Call
- Outbound Call
- Referral
- Partner
- Email Campaign
- Paid Ads
- Social Media
- Event
- Webinar
- Cold Email
- Organic Search
- Live Chat
- Press / PR
- Other
Adding a source #
Click + Add Lead Source and enter a name. Sources are saved as soon as you confirm — there’s no type or color to set.
Reordering sources #
Drag the handle on the left of any row to reorder sources. The order is used in dropdowns and filters across the Leads area.
Deleting a source #
Click the trash icon in the Action column to delete a source. If the source is currently assigned to Leads, you’ll be asked to confirm before those Leads have their source cleared.
Using Lead Statuses & Sources #
Once configured, Lead Statuses and Sources are used throughout the CRM:
Leads page
- Status appears as a colored badge in the Leads list and as a column in Kanban view.
- Source appears as a column in the Leads list and can be used to filter and group Leads.
Dashboard & Reports
- Funnel and conversion charts use Lead Statuses to show movement through your qualification flow.
- Source breakdowns show which channels are bringing in the most Leads and which convert best.
Keeping your statuses and sources tidy — short names, consistent colors, and only the values your team actually uses — keeps reports easy to read and Leads easy to triage.


